How to master a song for free, right in your browser.
Build and audition a mastering chain in your browser: load a finished mix, use the heuristic assistant as a starting point, compare carefully, then export locally.
What mastering actually does
Mastering is the last creative step before a song goes out. Your mix already has every instrument balanced; mastering treats that stereo file as one finished object and shapes its overall tone, density and loudness so it translates well on phones, laptops, car stereos and big speakers — and so it sits at a competitive volume next to other releases on Spotify, Apple Music or YouTube.
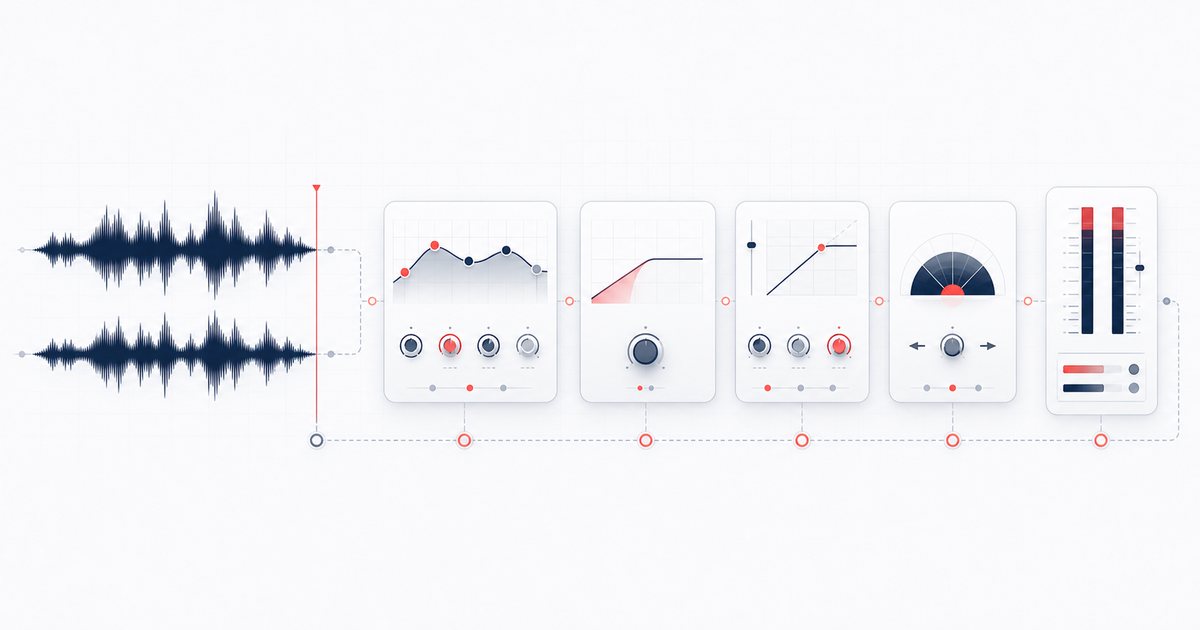
In a traditional studio that means a chain of EQ, compression, saturation, stereo work and a limiter. The good news: you don't need that gear, a paid plugin bundle, or an expensive engineer to get a solid result. Learning how to master a song for free is mostly about understanding the order of operations and listening carefully — and AudioWrench's Mastering Studio packages the whole chain into one page.
How to master a song for free, step by step
Here's the real flow inside the Mastering Studio, from a raw mixdown to an exported master:
- Drop your mix on the page. Drag a WAV, MP3, FLAC or other audio file onto the dropzone (or click to browse). It decodes instantly on your device and the studio reports its length, integrated LUFS and peak level so you know your starting point.
- Run the Master Assistant. Pick a target — Pop / Streaming, Hip-Hop / Trap, EDM / Club, Rock / Metal, Acoustic / Jazz, Lo-fi / Chill or Podcast / Voice — then hit Analyze & build my chain. It reads your loudness, low end and brightness and dials in the whole chain for that genre. Prefer to match a song you love? Drop it into the reference track box and the EQ moves gently toward its tonal balance.
- Fine-tune the chain. The chain rail shows EQ, Bass Control, Inflator, Exciter, Width, Glue and Maximizer modules. Toggle or reorder them while comparing the live spectrum, estimated loudness and gain reduction.
- Preview as you go. Use the seekable, loopable transport to play, A/B against the source, and loop a chorus while you adjust. You can even hit Preview codec to hear how the master will sound after MP3 encoding before you commit.
- Set a loudness reference. The Maximizer uses Web Audio dynamics processing while the studio estimates source and rendered LUFS plus sample peak. It is not certified true-peak or brick-wall limiting, so leave headroom and verify important deliverables separately.
- Export the master. When it sounds right, render and download a dithered WAV or MP3. The file is generated locally and saved straight to your downloads — ready to upload to a distributor.
Getting a clean, loud master
The most common mistake is chasing loudness with the limiter alone. Push too hard and the maximizer squashes your transients — kicks lose punch, the whole track sounds flat and fatiguing. The fix is to do the loudness work earlier in the chain: tame harsh resonances with EQ, control the low end so the bass isn't eating headroom, add a touch of glue compression for cohesion, and only then let the maximizer bring it up to target. If a previous master already sounds over-squashed, the optional Transient Revival pre-stage can bring the hits back out.
Trust your ears over the meters, but use the meters as a sanity check. Master at a comfortable volume, take breaks so your ears stay honest, and compare against a commercial reference in the same genre. Headphones are strongly recommended for catching stereo and low-end detail.
🎚️ Try the Mastering Studio (free) →
Why master in your browser?
The Mastering Studio decodes and processes the selected file on your own device through the Web Audio API; the audio payload is not uploaded to AudioWrench. Normal page assets still load over the network. That matters for unreleased work because the processing path does not require a cloud-file handoff. There's no account to create, plugin to install, subscription or watermark, and the downloadable render is produced locally from the selected settings.
FAQ
Can I really master a song for free?
Does my song get uploaded to a server?
How loud should my master be?
Do I still need to mix before I master?
Sources and review notes
Loudness targets are playback and delivery context, not a universal mastering recipe. AudioWrench measurements are useful estimates and should be paired with listening references.
- ITU-R BS.1770-5 — Loudness and true-peak measurement algorithms.
- Spotify loudness normalization — Spotify’s current playback-normalization behavior and delivery guidance.
- AudioWrench review methodology — Scope and limits of AudioWrench implementation claims.