How to make a song louder without clipping.
Turning a quiet track up is easy; controlling peaks is the real job. Process the selected file locally without uploading it to AudioWrench.
Why simply turning it up fails
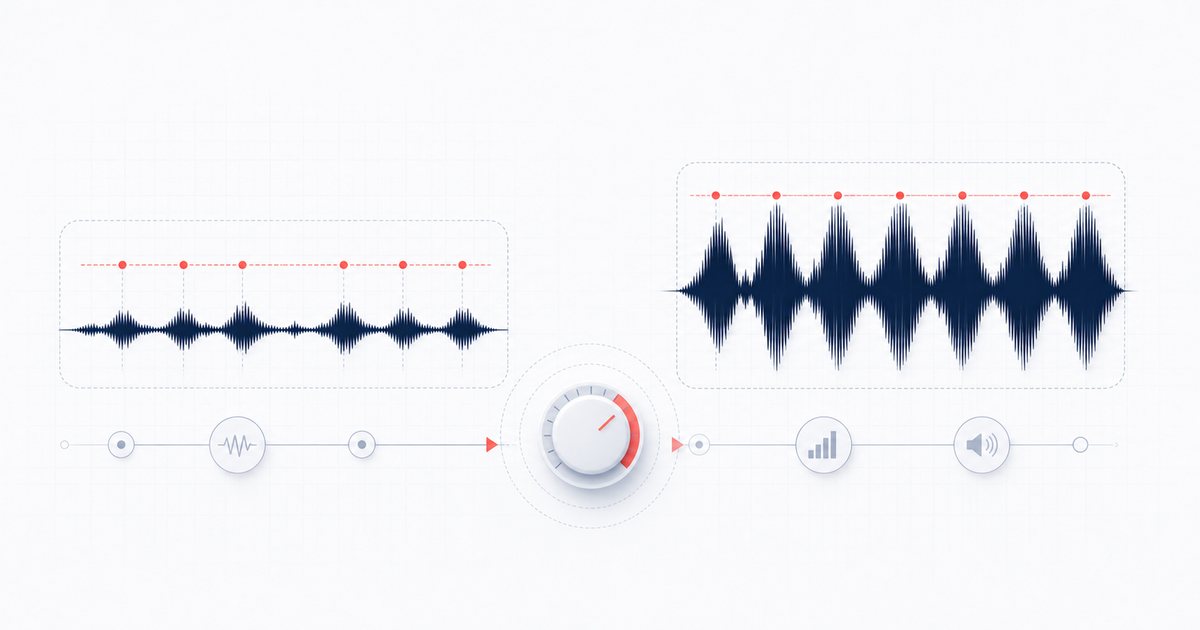
If your song sounds too quiet, the obvious move is to drag the volume fader up. The problem is that every digital audio file has a hard ceiling — 0 dBFS — and once your loudest peaks slam into it, they get chopped flat. That's clipping, and it sounds like harsh, crackly distortion on vocals, cymbals, and bass hits. So the real goal isn't "make it louder," it's make a song louder without clipping: increase the overall level while taming the few peaks that would otherwise overshoot.
The tool combines gain, optional soft clipping or saturation, and a Web Audio dynamics stage. The last stage can reduce sample peaks, but it is not a certified true-peak or guaranteed brick-wall limiter. Your ears, the meters and extra headroom still matter.
How to make a song louder, step by step
- Drop your file onto the page. Open the Volume Booster and drag an MP3, WAV, FLAC, or any audio file onto the dropzone (or click to pick one). It decodes instantly on your device and shows the duration plus the current input peak in dBFS.
- Hit Live preview. Press ▶ Live preview to start playback through the boost chain. A live oscilloscope draws the waveform, and three meters — input peak, output peak, and gain reduction — update in real time so you can see how loud you're getting.
- Raise the Boost slider. Under "Boost & character," push the Boost (gain) slider up a few dB at a time. Watch the output peak meter: as long as the limiter is on, it should sit just below your ceiling rather than pinning at the top.
- Add character if you want it. Pick a soft-clip mode from the dropdown — Smooth for transparent loudness, Warm for tube-style saturation, Classic for analog grit — and nudge the Drive slider to push more signal into the shaper. This is what lets you go louder without the brittle sound of hard clipping. Or start from a preset chip like Clean Boost, Warm Saturation, or Loud & Proud.
- Use peak control conservatively. Leave the dynamics stage enabled and start with extra headroom. Its meter reports sample peaks and gain reduction, not certified true peak. Constant heavy reduction, pumping or flattened transients mean the boost should come down.
- Tweak while it plays. Every control updates the sound instantly, so adjust boost, drive, makeup trim, ceiling, and release until it's loud and clean. A/B by toggling the limiter or dialing the boost back to compare.
- Render and download. Save WAV or MP3, review the before/after sample peak and listen again to the loudest passage. For a critical release, check the export with a true-peak meter.
Getting the most out of the controls
The fastest path to a loud, clean result is to lean on the limiter rather than the gain alone. Set your ceiling first (-1 dBFS is a safe, broadcast-friendly target), then raise the boost until the loudest sections feel full. If you want more level without the limiter clamping down hard, add a touch of saturation — that gently compresses the peaks before they reach the limiter, so you get loudness that feels warm rather than squashed.
The Makeup slider trims the output level after the shaper, which is handy when heavy drive has pushed things too hot. And the limiter's Release control changes how quickly it recovers: shorter release feels punchy and aggressive, longer release sounds smoother and more transparent. There's no single "correct" setting — the meters and your ears are the judges.
Why do it in your browser?
The Volume Booster decodes and processes audio on-device through browser audio APIs instead of uploading it to AudioWrench. There is no account or cost. Inputs are capped at 200 MB, and available memory and device performance set practical limits.
📢 Try the Volume Booster (free) →
A few quick tips
- Boost in small steps. +3 to +6 dB transforms most quiet tracks. Going past +12 dB usually means you're relying on saturation and limiting to do the heavy lifting — fine, but listen carefully.
- Trust the gain-reduction meter. A few dB of reduction on peaks is healthy. If it's pinned high constantly, your track is being crushed — pull the boost back.
- Don't over-master for streaming. Spotify, YouTube, and Apple Music normalize loudness on playback, so a clean, slightly dynamic track often wins over one that's been maxed out.
- Match the source. Spoken voice and acoustic material need a gentler hand than an EDM master — start with Clean Boost and add character only if it helps.
FAQ
How do I make a song louder while managing peaks?
What is clipping and why does it sound bad?
Is the Volume Booster free, and is my song uploaded anywhere?
How loud should I make my song?
Sources and review notes
Gain, loudness and peak control are different jobs. Raising gain can reveal noise or distortion, and a browser dynamics stage is not automatically a certified true-peak limiter.
- ITU-R BS.1770-5 — Current loudness and true-peak measurement recommendation.
- W3C DynamicsCompressorNode — Behavior of the browser dynamics primitive used by many local tools.